Nail art designs have taken the beauty world by storm. You can go from simple to intricate in minutes, transforming your nails into tiny canvases.
Whether you’re a beginner or a pro, there’s always something new to try. The contrast between a classic French manicure and bold geometric patterns shows just how versatile nail art can be.
You don’t need to be an artist to create stunning designs. With the right tools and a bit of practice, you can achieve salon-quality nails at home. From elegant florals to edgy metallics, your nails can reflect your unique style and personality.
Nail Art Designs For Beginners: Quick Guide
- Explore Trendy Designs: Stay updated with the latest nail art trends to keep your nails stylish and fashionable.
- Follow Step-by-Step Guides: Use detailed guides to master new nail art techniques, even if you’re a beginner.
- Perfect Your Application: Apply tips for a flawless nail art application, ensuring a professional look every time.
- Maintain Your Nails: Regular care and maintenance will keep your nail art looking fresh and vibrant for longer periods.
- Get Inspired Seasonally: Draw inspiration from seasonal themes to keep your nail designs relevant and exciting throughout the year.
- DIY with Confidence: Experiment with DIY nail art at home using simple tools and techniques, making it accessible and fun.

Understanding Nail Art
Basics for Beginners
Start by understanding nail anatomy. Knowing the structure helps in better design application. Nails have different parts like the nail bed and cuticle.
Learn basic painting techniques. Dotting, striping, and marbling are essential skills. Dotting creates small circles, while striping involves thin lines. Marbling mixes colors for a swirled effect.
Familiarize yourself with simple designs. Polka dots and chevron patterns are great starters. Practice these to build confidence in your nail art skills.
Tools You Need
Invest in quality brushes. Different sizes help with precision in detailing. Small brushes work well for intricate designs.
Include dotting tools and striping tapes. These tools make it easier to create detailed patterns. Dotting tools help with perfect dots, while striping tapes guide straight lines.
Consider a UV lamp if using gel polishes. Gel polishes last longer but need curing under a UV lamp. This tool ensures your art stays intact for weeks.
Selecting Your Style
Determine your personal style. Are you minimalist, bold, or elegant? Your style will influence your nail design choices.
Consider the occasion for your nail art. Casual events may call for simple designs. Formal occasions might need more sophisticated looks.
Choose colors and patterns that complement your wardrobe. Match your nails to your outfits for a cohesive look. Bold colors can make a statement, while neutral tones offer subtle elegance.
Trendy Designs Simplified
Black and White Classics
Experiment with monochrome stripes and polka dots for a timeless look. Stripes can be vertical, horizontal, or diagonal. Polka dots add a playful touch.
Try abstract art using only black and white for a modern twist. Create patterns like swirls or random lines. This adds a unique flair.
Incorporate negative space designs with black and white for sophistication. Leave parts of your nail bare. This creates a polished nail art look.
Vibrant and Bold Graphics
Use neon colors to make graphic patterns pop. Neon shades like pink, green, and yellow are eye-catching. They stand out in any crowd.
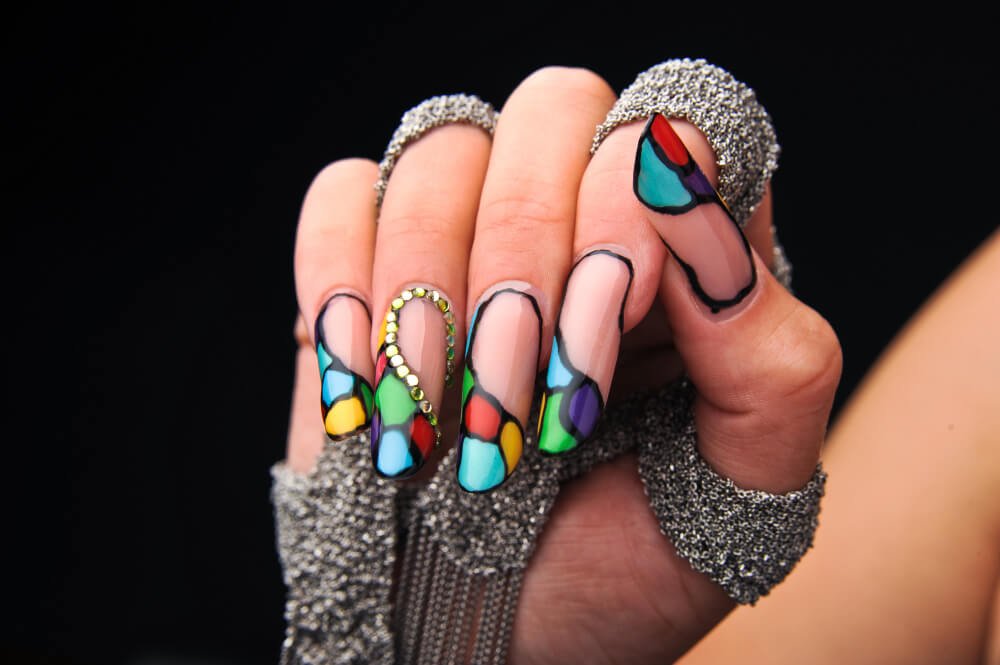
Combine geometric shapes with bright hues for eye-catching designs. Triangles, squares, and circles work well. Mix these shapes with bold colors.
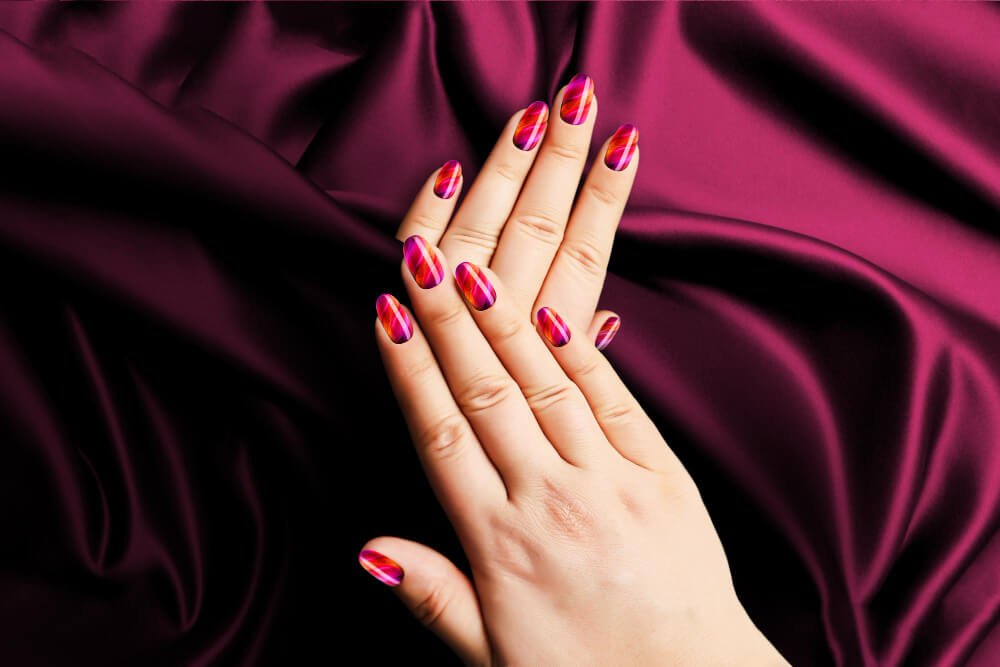
Apply contrasting colors in graphic designs for a dynamic effect. Pair colors like blue and orange or red and green. This contrast makes your nails vibrant.
Soft and Subtle Hues
Opt for pastel shades for a soft, romantic vibe. Colors like baby blue, lavender, and pale pink are gentle on the eyes. They give a calm feeling.
Create gradient effects with subtle hues for depth. Blend two or more colors gently. This creates a smooth transition from one color to another.
Use soft colors as a base for delicate floral or lace patterns. Draw small flowers or lace-like designs over the base color. It looks intricate yet simple.

Step-by-Step Guides
Stripes and Lines
Use a nail art brush to paint straight lines. Practice precision by making stripes of different thicknesses. Vertical, horizontal, and diagonal stripes add visual interest to your nails.
Mix metallic or glitter lines over solid colors for contrast. This can make your manicure stand out. Experiment with various combinations to find what you like best.
Adding Sparkle
Incorporate glitter polish as an accent nail or over designs. This adds a touch of sparkle without being overwhelming. Apply a glitter top coat for an all-over shimmer effect.
Use rhinestones or metallic studs to add dimension to your nail art design. Place them carefully using tweezers. Secure them with a clear top coat to ensure they stay in place.
Night Sky and Moonlit Motifs
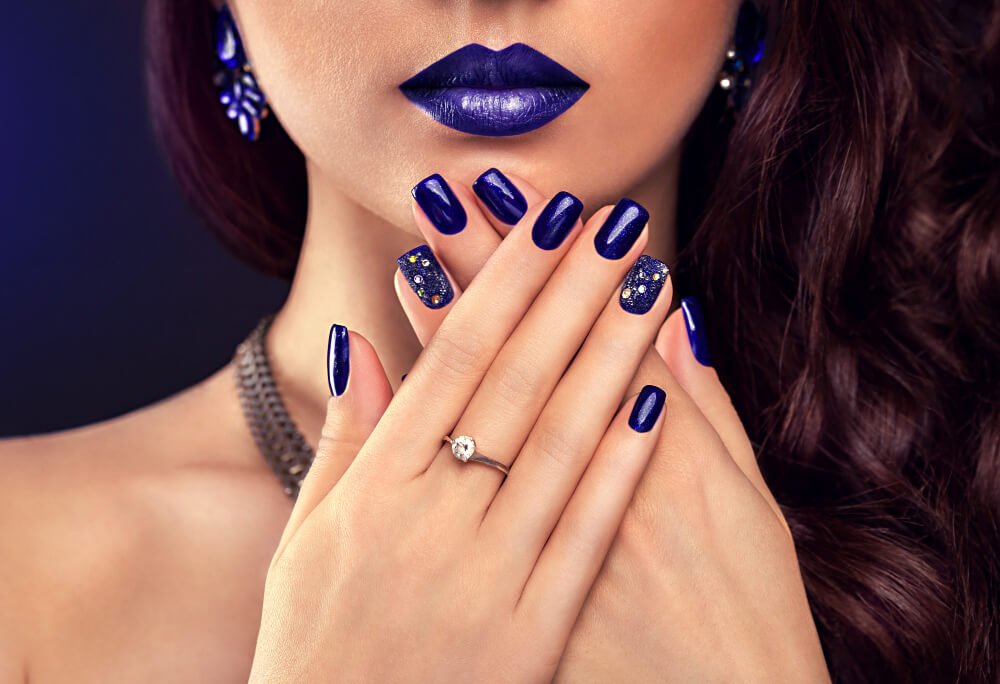
Create galaxy designs using sponging techniques with dark, cosmic colors. Start with a black base and sponge on blues, purples, and whites. This will give your nails a deep space look.
Paint crescent moons and stars for a whimsical night sky theme. Use a fine nail art brush for detailed work. Add glow-in-the-dark polish for an added moonlit effect.
Tips for Perfect Application
Preparing Your Nails
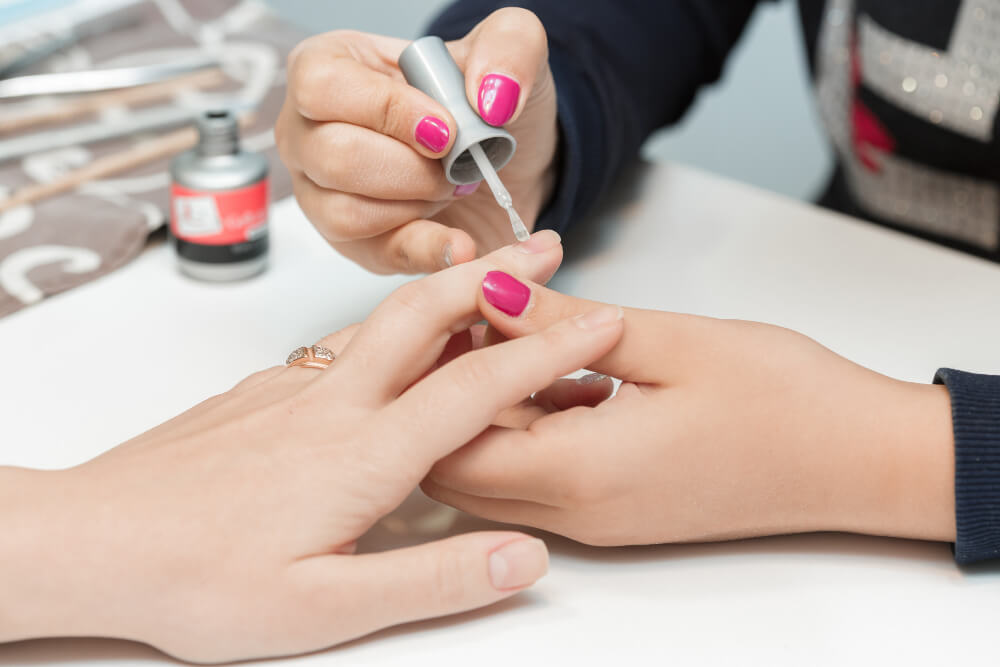
Clean and buff your nails for a smooth canvas. This helps the polish adhere better. Use a nail buffer to gently smooth out any ridges.
Apply a base coat to protect your nails and enhance polish adherence. This step is crucial for preventing stains from dark colors.
Trim and file your nails to a uniform shape and length. Consistency in shape makes the design look more professional. Use a fine-grit file to avoid splitting.
Applying Designs
Start with lighter colors as a base. These colors provide a good foundation and make darker colors stand out more. Paint cream nail polish works well for this purpose.
Use thin brushes or tools for detailed patterns and textures. A thin nail art brush offers precision, making intricate designs easier to achieve.
Practice patience; allow each layer to dry completely before adding new elements. This prevents smudging and ensures clean lines.
Finishing Touches
Seal designs with a clear top coat for shine and protection. This step makes your artwork last longer and adds a polished finish.
Clean up any polish on the skin around your nails with a brush dipped in remover. A small, stiff brush works best for this task.
Evaluate the overall balance and symmetry of your design. Make adjustments as needed to ensure each nail looks cohesive with the others.

Maintenance and Care
Protecting Your Artwork
Wear gloves while doing tasks that could damage your nail art. Washing dishes or gardening can harm your design. Gloves help protect from scratches and chips.
Reapply top coat every few days to prevent chipping and fading. This keeps the design fresh. A clear top coat acts as a shield for your nails.
Avoid prolonged exposure to water and harsh chemicals. Water can weaken the adhesive, causing peeling. Chemicals in cleaning products can fade colors. Use gentle soaps and moisturizers instead.
Longevity Tips
Opt for gel polish for designs that last up to two weeks. Gel polish is more durable than regular polish. It withstands daily wear and tear better.
Keep nails hydrated with cuticle oil to prevent cracking. Dry nails are prone to breaking. Hydrated nails stay strong and flexible. Apply cuticle oil daily for best results.
Store polishes in a cool, dark place to maintain formula consistency. Heat and light can alter the polish’s texture and color. A drawer or cabinet works well for storage.
Seasonal Inspirations
Festive Touches
Add seasonal motifs like snowflakes for winter or flowers for spring. These designs bring a fun and festive feel to your nails. Snowflakes add a magical touch, while flowers bring freshness.
Incorporate holiday colors into your designs, such as red and green for Christmas. These colors instantly make your nails look festive. Red and green are classic choices that never go out of style.
Use themed stickers or decals for an easy festive look. Stickers can save time and still look amazing. They come in various designs, from pumpkins for Halloween to bunnies for Easter.
Summer Brights
Choose fluorescent or neon polishes for vibrant summer nails. Bright colors make your nails stand out in the sun. Fluorescent yellows, pinks, and greens are perfect for this season.
Create beach-inspired designs with shades of blue and sandy textures. This brings the ocean vibe to your nails. You can paint waves, starfish, or even tiny seashells.
Apply a matte top coat over bright colors for a unique summer finish. Matte finishes give a different look compared to shiny ones. It makes the colors pop even more.
Winter Elegance
Use icy blues, silvers, and whites for a wintry palette. These colors remind you of snowy landscapes. Icy blues and silvers create a cool, elegant look.
Paint delicate snowflakes or frost patterns for seasonal elegance. Small details like these make your nails look sophisticated. Frost patterns add a touch of winter magic.
Add pearl accents or shimmer for a touch of holiday glamour. Pearls give an elegant finish to your nails. Shimmer adds sparkle, making them perfect for holiday parties.

DIY Nail Art at Home
Simple Patterns
Mastering simple patterns can elevate your nail art game. Start with dots, lines, and basic shapes. These designs are easy to achieve and look stylish. Use a toothpick or a dotting tool for precise dots. Create stripes with thin brushes or tape.
Negative space is another great technique. Leave parts of your nails unpainted for a chic look. This method is perfect for beginners. It requires less polish and effort but still looks polished.
Stick to one color for a monochromatic scheme. Choose shades like black, white, or nude for elegance. This approach keeps your nails looking clean and sophisticated.
Elegant Curves and Angles
Incorporate curves into your designs for a fluid effect. Swirls and waves add movement to your nails. Use a thin brush to draw these shapes.
Geometric patterns offer a modern twist. Sharp angles create a bold statement. Combine triangles, squares, and lines for an intricate look. Metallic polishes enhance these designs, giving them a luxe finish.
Blend curves and angles for a unique style. Mix different shapes on each nail. This combination makes your nails stand out without being too complicated.
Advanced Techniques for Enthusiasts
Metallic Accents
Metallic accents can elevate your nail art to the next level. Designs with gold, silver, or bronze detailing add instant elegance. These metallic colors catch the light beautifully and make your nails stand out.
Use metallic strips as guides for clean, crisp lines. This technique ensures precision and symmetry in your designs. Place the strips where you want to create borders or sections.
Layer metallic over dark colors for a striking contrast. For example, gold over black creates a bold look. Silver on navy blue is another eye-catching combination. Experimenting with different base colors can yield stunning results.
Detailed Patterns Challenge
Detailed patterns challenge your skills and creativity. Intricate lace or mandala patterns are popular choices. These designs require patience and a steady hand.
Employ fine-tip brushes for precision. These tools allow you to draw tiny details accurately. Start with simple patterns and gradually move to more complex ones.
Practice layering colors and textures for depth in detailed designs. Use lighter shades first, then add darker tones on top. This technique creates a 3D effect that makes your patterns pop.
Final Note: Choose Beginner-Friendly Nail Art Designs
You’ve got a solid grip on nail art now. From understanding the basics to mastering advanced techniques, you’re ready to create stunning designs. Remember, practice makes perfect, and your creativity is your best tool.
Don’t stop here. Show off your new skills, try out seasonal inspirations, and keep experimenting. Share your masterpieces with us and inspire others.
Ready for the next level? Dive into our latest tutorials and keep those nails looking fabulous!
Frequently Asked Questions
What is nail art?
Nail art is the creative process of decorating and embellishing nails using various designs, colors, and techniques. It transforms ordinary nails into artistic expressions.
How can beginners start with nail art?
Beginners should start with simple designs like polka dots or stripes. Using nail stickers and stencils can also help ease into more complex patterns.
What are some trendy nail art designs for 2023?
Trendy designs for 2023 include minimalist lines, geometric patterns, and pastel gradients. Metallic accents and negative space designs are also popular choices.
How do I make my nail art last longer?
To extend the life of your nail art, use a high-quality base coat and top coat. Avoid exposing your nails to harsh chemicals and wear gloves when doing chores.
Can I do nail art at home without professional tools?
Yes, you can create stunning nail art at home using everyday items like toothpicks, tape, and makeup sponges. Online tutorials can guide you through DIY techniques.
What are some tips for perfect application?
Ensure nails are clean and dry before starting. Apply thin layers of polish to avoid smudging. Use a quick-dry top coat to seal your design and reduce drying time.
How often should I maintain my nail art?
Maintenance depends on your lifestyle but typically every 1-2 weeks. Touch up any chips and reapply top coat every few days to keep your design looking fresh.
